Hi friends,
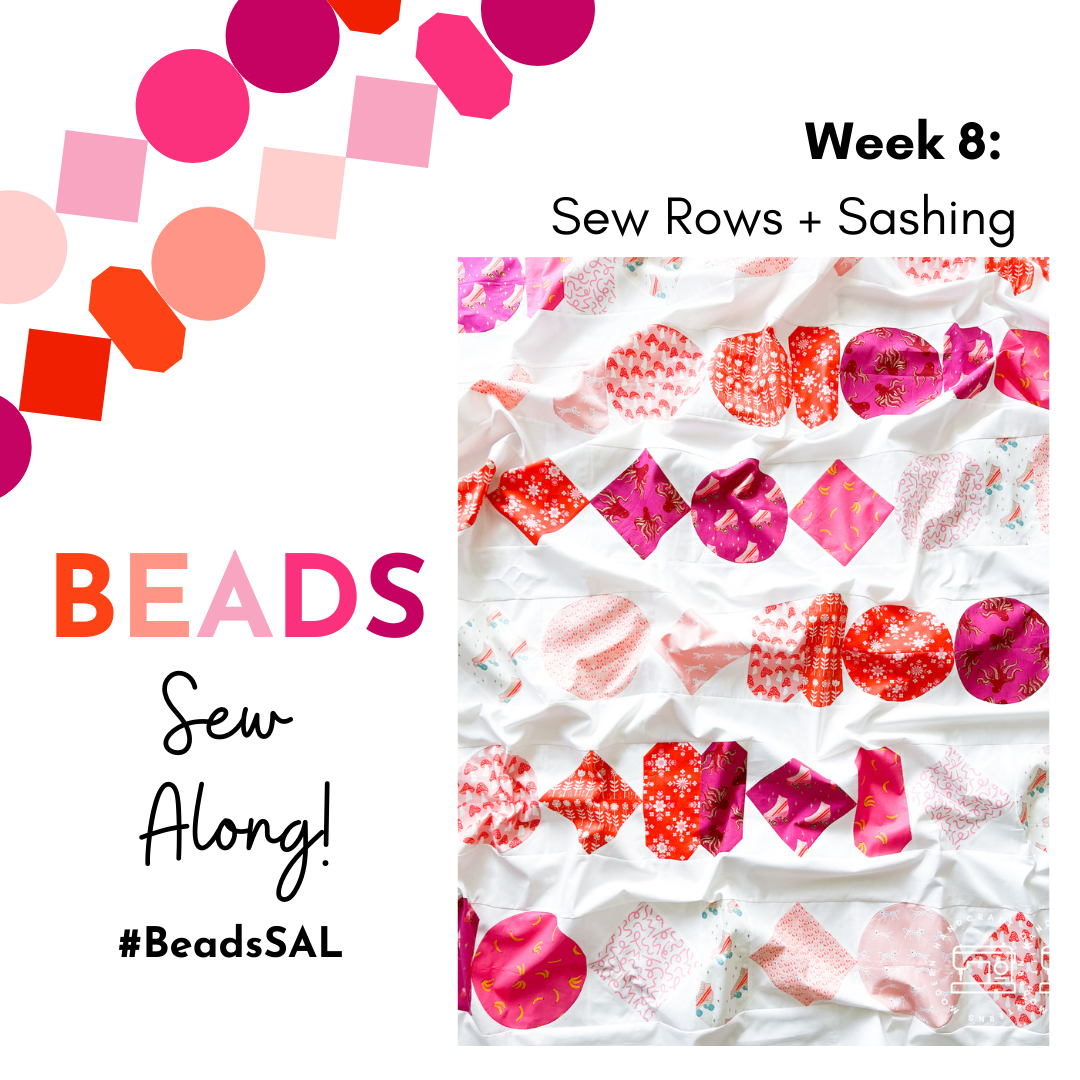
Can you believe we made it to the end?! It's week eight of the Beads Sew Along and this week we are sewing all of our Bead rows together and adding our sashing to reveal our finished quilt tops!

If you are just getting started - check out these posts to plan out your project, cut out your fabrics and the first of the beads blocks.
- The Beads SAL - Prep Guide
- Beads SAL Printable Schedule
- Beads SAL - Week 1
- Beads SAL - Week 2
- Beads SAL - Week 3
- Beads SAL - Week 4
- Beads SAL - Week 5
- Beads SAL - Week 6
- Beads SAL - Week 7
- Beads Quilt / Starburst Version
- Beads Quilt / Rainbow Scrappy Version
- Beads Quilt / Pink Sugar Baby Version
- Beads Quilt / Blue + Green Essex Version
- Beads Quilt / Friendship Bracelet Version
- Beads Quilt / Cover Quilt Version
Week 8: Sew Rows + Sashing

Now that we have all of our Beads Blocks finished we can go back to our coloring sheets that we worked on during week 1 of the sew along while planning our projects.
You can also follow along using the pattern notes on the following pages:
- Beads PDF Pattern: Quilt Top Assembly pg 8 - 9
- Beads Printed Pattern: Quilt Top Assembly pg 12-13
Back in week 1 I discussed how to plan your quilt layout using your fabric choices and bead blocks and the difference between a more random and orderly layout.
Orderly Layout
In the Beads Quilt pattern instructions under "Quilt Top Assembly" you will see how the Baby and Throw size quilt have a layout showing the 5 FQ for the Baby Quilt and the 10 FQ for the Throw Quilt look in an orderly layout.
An orderly layout just means that the fabrics stay in a specific color order throughout the quilt top, this can be light to dark and vice versa - large print to small print - or a specific color or pattern order to your liking.
You will notice that every line begins with a different starting fabric. This gives the color/fabric a bit of movement throughout the quilt top, and also allows you to use all of the fabric cuts that you made from each fat quarter. (there are a couple of blocks that will be left over).
The coloring sheets for the Baby and Throw quilts also have the orderly fabric numbering to help with your planning.
The Bed size quilt works best in a random placement, due to the number of fabrics used, read on about how the random fabric placement works below.
Random Layout
The random layout is more of a planned layout than it appears. Although the fabrics are not in order, I am providing you with a plan on how to fit your required 20 FQ into the quilt top.
The layout and coloring sheets will show you how to get an overall random look, but still assist you with where to put specific fabrics, ensuring that the rows will finish at the same length.
Be cautious with going scrappy with your quilt top, and not following the guidance I have given you for where to place your Bead / Diamond / Circle blocks. These can be mixed up in each row - but keeping the same amount of each will ensure that the rows finish at the same size.

Sewing Rows of Bead Blocks Together

Once you have your game plan ready for your rows it's time to start sewing them together.
I go block by block, pinning in the center and then any additional places that could shift and sew using a scant seam allowance.

When sewing a circle or diamond block I also like to keep an eye on sewing just along the seam allowance so I do not hide points or flatten curves.

I also like to go and press my seams open, flip over and using a good spray starch press again to really flatten some of the bulkier seam allowances.

Adding our sashing

If you have not joined your sashing strips together to create one long sashing strip you can do that now. This makes it much easier to have the length needed for adding our sashing to our finished rows.
Following your quilt layout you can now sew sashing strips to your finished bead rows. There will be sashing in between each row of beads and at the top and bottom of the quilt. Lining up the seams between the beads and pinning will keep your rows straight. Press finished seams to one side.

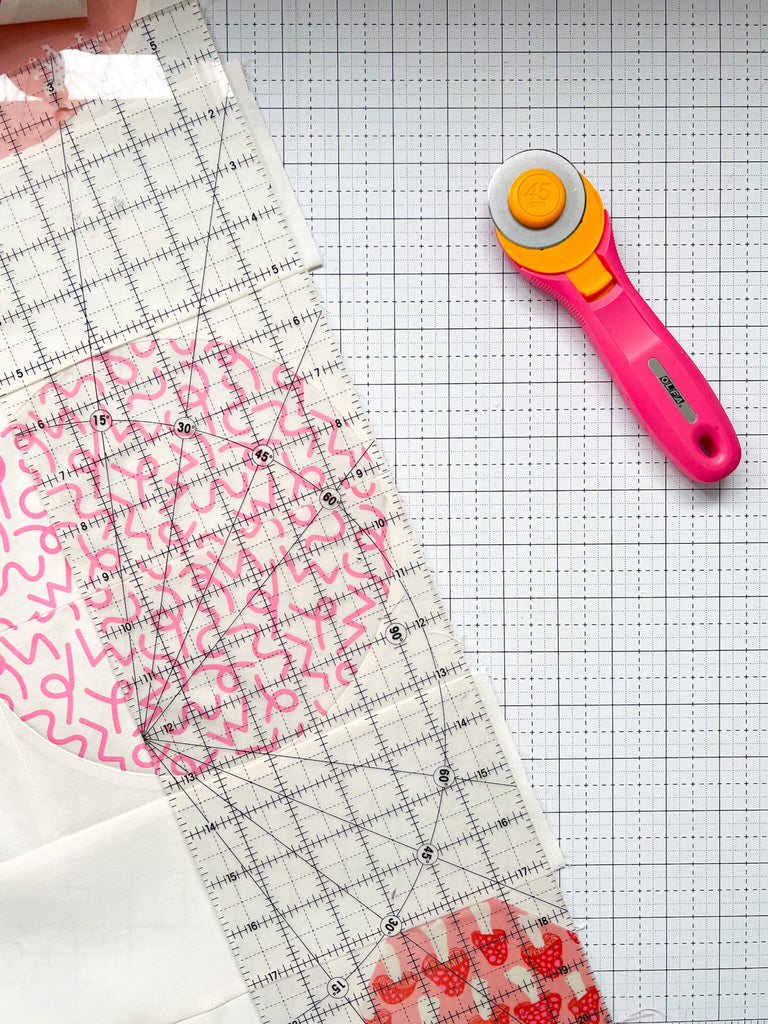
Once you give your quilt top a good press, you can go in and trim off any excess overhang from your sashing rows. Make sure to use a longer ruler and line up along the row above and below.

You did it!! Congrats on finishing your Beads quilt top!

This weeks givewaway!

This weeks final giveaway is a full Half yard bundle of the line Birthday by Sarah Watts for Ruby Star Society plus an Asterisks quilt by Modern Handcraft!
Heather Alexander from HAndmade Longarm Quilting is also giving away $50 towards longarm quilting services! You can find out more about Heather below, and the amazing offer she has for finishing your Beads Quilts!
HOW TO WIN:
- Post a pic to Instagram. Share a photo of your fabric pull, your planning process or even all of your fabrics cut up and ready to go! Use #BeadsSAL in the caption.
- You must have a public profile to participate.
- Each photo posted is an entry to win, so enter as many times as you like! Photos from the current week count, we start fresh every week for chances to win.
- Winner will be chosen randomly - and all are welcome to enter!
HAndmade Longarm Quilting

Heather lives close by and not only is a talented quilter, she also runs a successful longarm quilting buisiness! She is going to help me out with sample sewing and is also offering an awesome discount for the Beads Sew Along! You can also find Heather on Instagram under @handmade2001, to see some of her amazing quilting.
Heather is generously offering 20% off quilting for your Beads Quilts! The discount ends August 31st 2022, no code needed. I cannot wait to share with you the work she is doing on my Beads Sew Along quilt!
Thanks for sewing along with us! I can't wait to share my finished quilt that Heather is currently quilting next week!.
