Hi friends,
We are officially on our last block type this week - the circle block!

New to sewing curves? New to sewing half circle blocks? Have no fear - the half circle how to video is here to help you navigate those circles!

IF YOU ARE JUST GETTING STARTED - CHECK OUT THESE POSTS TO PLAN OUT YOUR PROJECT, CUT OUT YOUR FABRICS AND THE FIRST BEADS BLOCKS.
- The Beads SAL - Prep Guide
- Beads SAL Printable Schedule
- Beads SAL - Week 1
- Beads SAL - Week 2
- Beads SAL - Week 3
- Beads Quilt / Starburst Version
- Beads Quilt / Rainbow Scrappy Version
- Beads Quilt / Pink Sugar Baby Version
- Beads Quilt / Blue + Green Essex Version
- Beads Quilt / Friendship Bracelet Version
- Beads Quilt / Cover Quilt Version
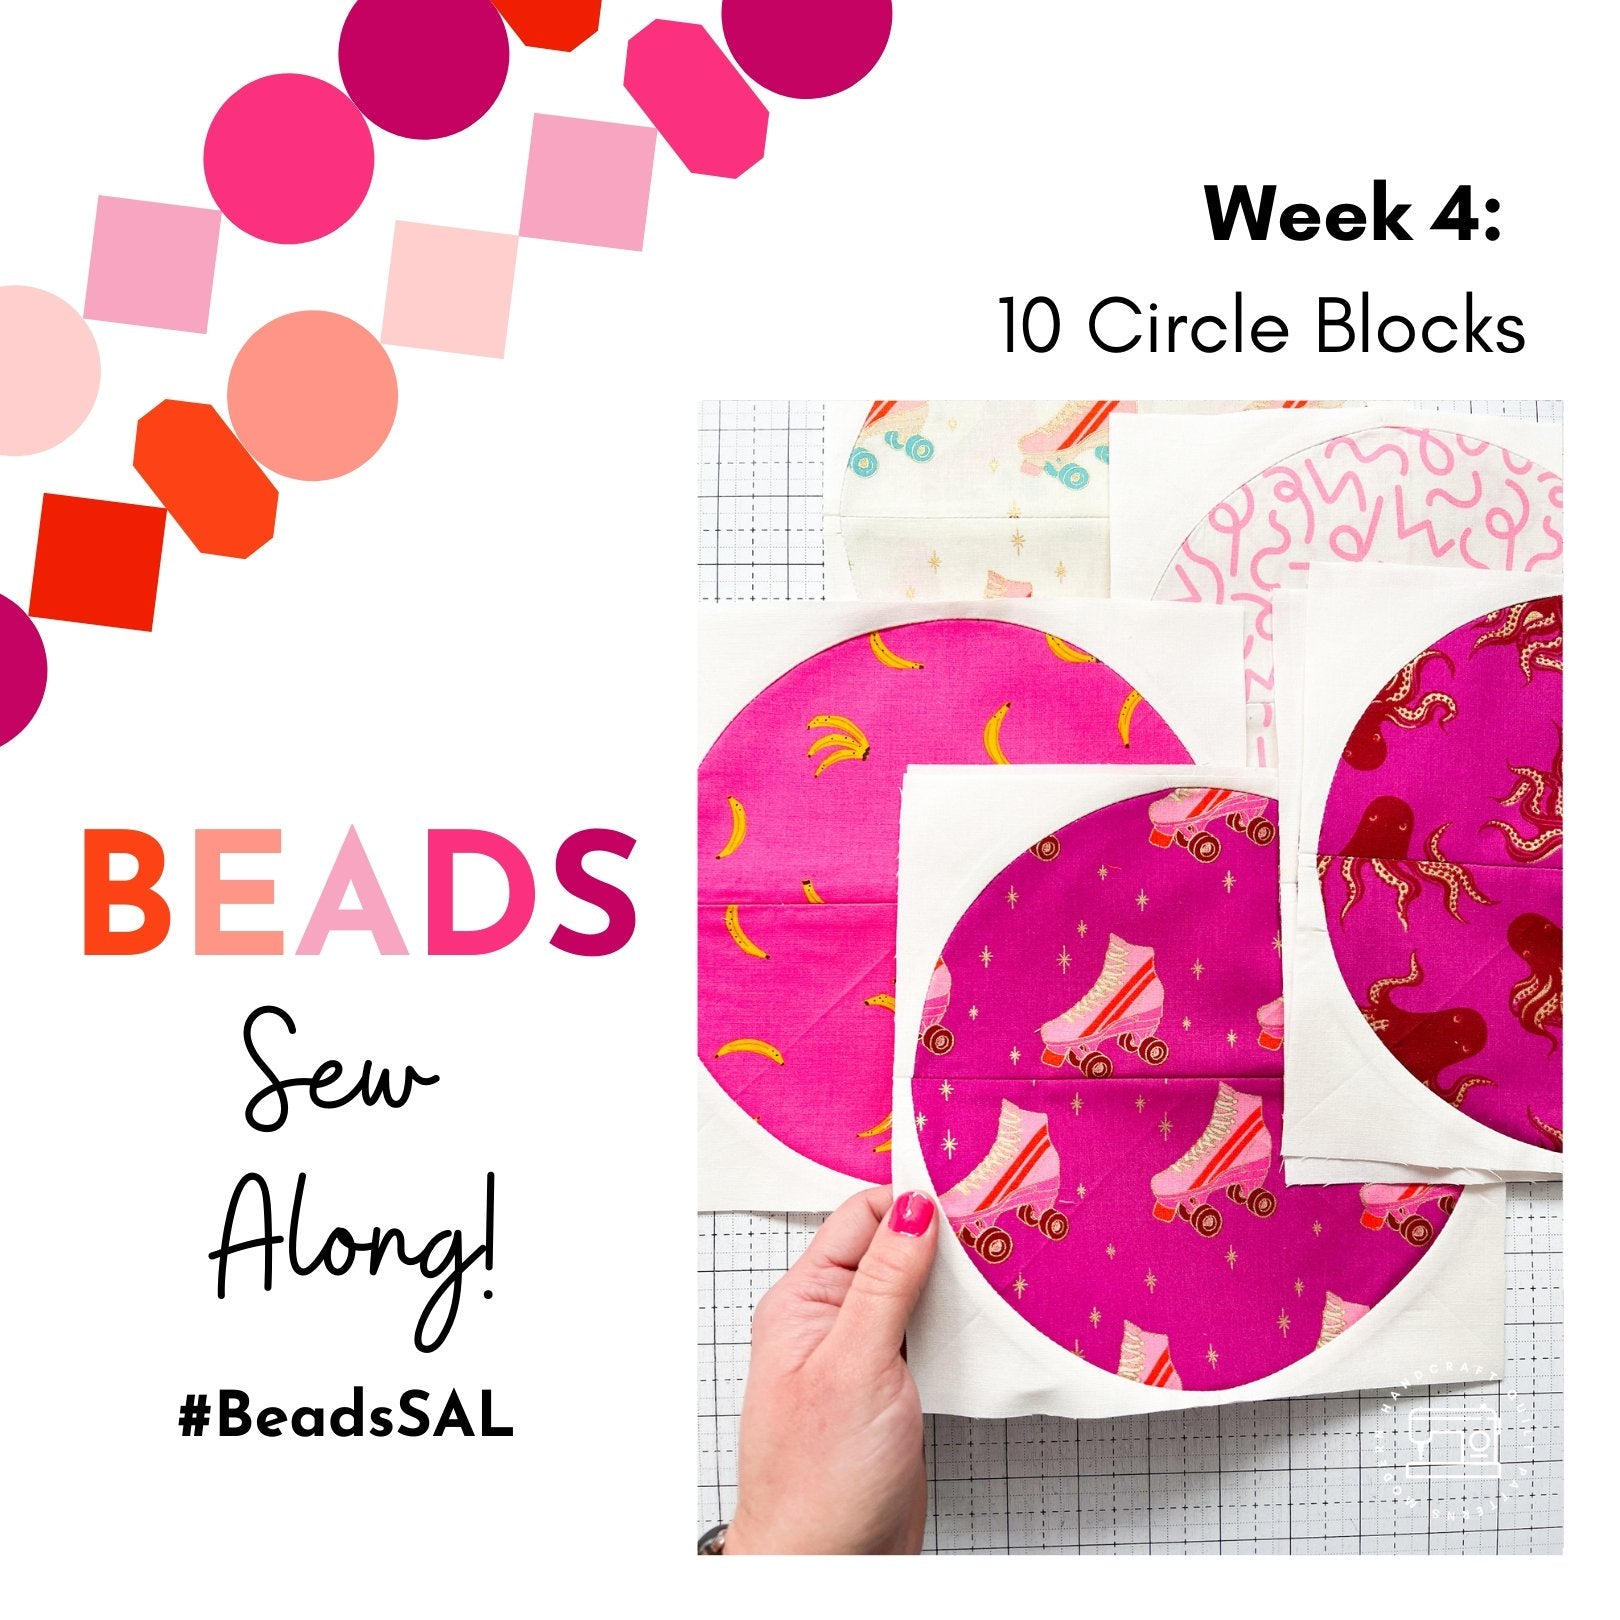
Week 4: 10 Circle Blocks

This week we will begin sewing our first set of 10 Circle blocks.

Each Circle Block requires two half circle pieces and two arch background pieces.
Begin by pressing the arch shape in half, right sides together. Take both ends of your arch and meet at the middle crease right sides together and press again, this will create three creases to use as a guide to match up with the creases on the half circle shape.
Do the same with your half circle shape but with the wrong sides together, pressing three creases along the curve.
Place one half circle and one arch right sides together, matching up and nesting the three creases, starting with the middle crease. Pin in place or glue baste (follow along in the video above for more a visual on this).

With the arch piece on top, ,slowly stitch along the curved edge. Stretch the curve to match up the edges if needed. If you see any gathers or fabric starts to bunch up by the foot, stop and lift your presser food without raising the needle. Adjust the fabric and continue sewing.
Press your seams open, or towards the arch or curve. You might try different directions to see what feels best to you or also on what color fabrics you are using.
Continue by sewing the second half following the directions, and press seam.
Now that you have two halves of your circle finished you can join them to create one circle block.
Take the two halves and place right sides together, pinning along the side where the circle meets, matching up seams at both ends. Sew, joining both halves.
Press seams open to reduce bulk.
At your cutting mat, trim your blocks down to the finished block size. Line up the center seam of the block on your mat. Use a ruler to measure and trim excess from the first side - leaving 1/4" of your background fabric visible at each side of your circle. Do the same for the other sides.

This weeks Giveaway!

HOW TO WIN:
- Post a pic to Instagram. Share a photo of your fabric pull, your planning process or even all of your fabrics cut up and ready to go! Use #BeadsSAL in the caption.
- You must have a public profile to participate.
- Each photo posted is an entry to win, so enter as many times as you like! Photos from the current week count, we start fresh every week for chances to win.
- Winner will be chosen randomly - and all are welcome to enter!
Congrats to week 3 winner: @preciousandpink_lindsay
Thanks for joining in friends - looking forward to seeing all of your awesome circle blocks this week!
Happy Sewing,
Nicole
