

Hi friends,
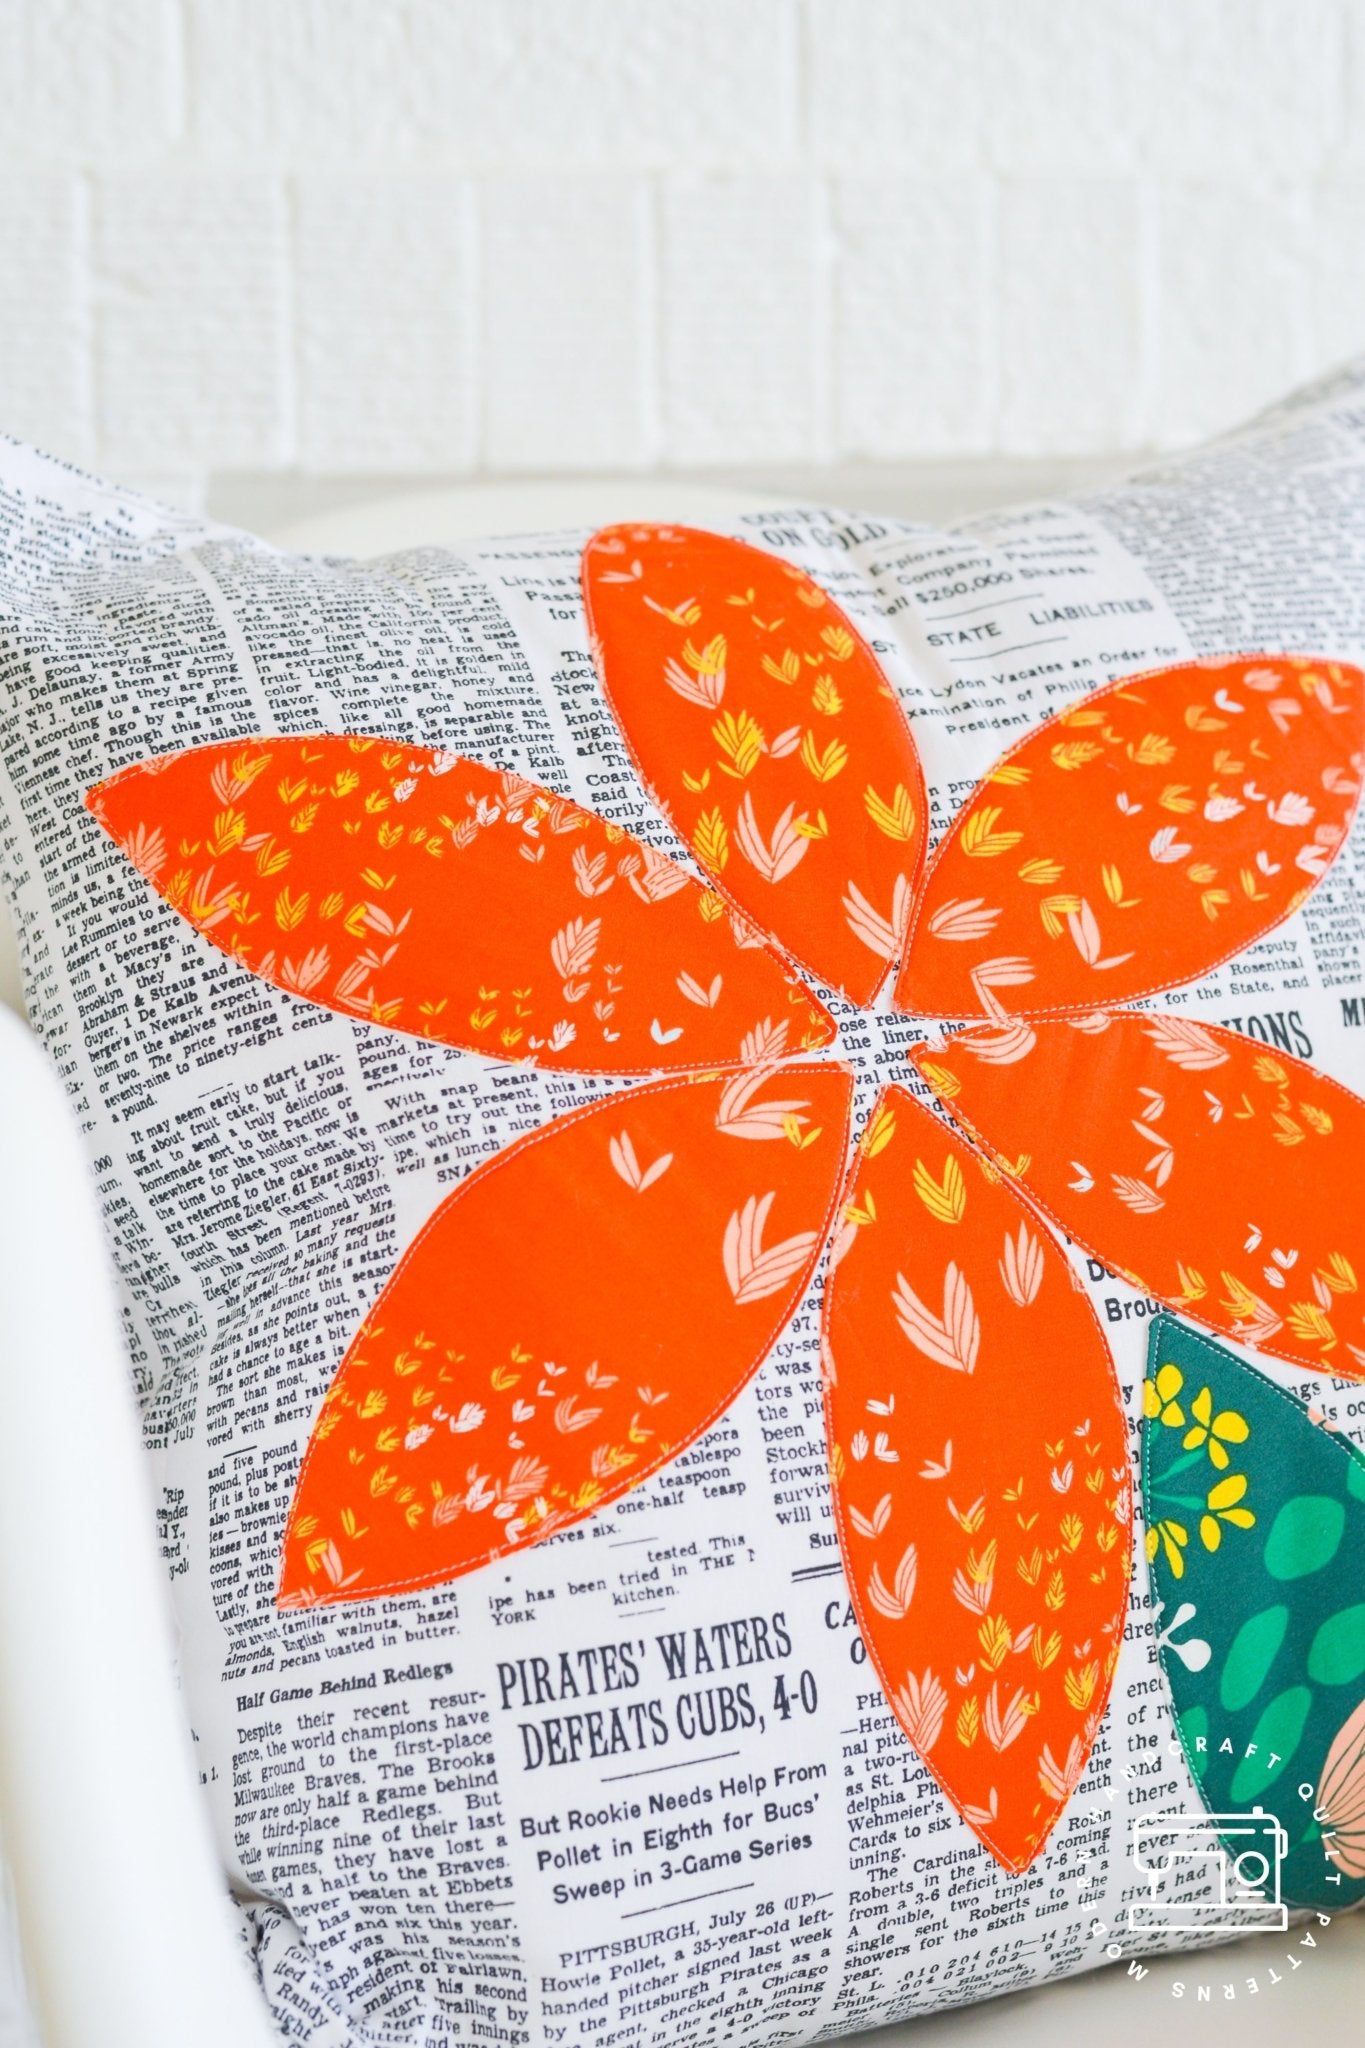
Today I am sharing a fun sewing tutorial using a technique that is also a great way to make a quilt - the orange peel! This is a simple way of making appliquè that creates a clean finish, and eliminates having to do a needle turn or zig zag stitch along the edges to finish. Follow the tutorial below and learn how to make your own Orange Blossom and Tulip pillow. Once you try my orange peel method on this pillow project - the options are endless on new projects!

I will show you two different flower layouts - the Orange Blossom + Tulip design. These are fun ways to use up some scraps and to decorate your home for the spring.
This page contains affiliate links. If you choose to purchase after clicking a link, I may receive a commission at no extra cost to you.
Materials needed:
- Orange Peel template PDF - click here
- Sewing machine and notions (scissors, cutting mat, rotary cutter, straight pins)
- Fabric for pillow front: 19" square - if adding a zipper, you will need an additional 19" square for backing, if making an envelope backing you will need (2) 14" x 19" rectangles of fabric.
- Fabric scraps or fat quarters for your flower petals, leaves
- Coordinating thread
- Heat n Bond fusible lightweight interfacing
- Heat n Bond iron on adhesive for tulip stalks
- Heat n Bond fusible fleece for backing of pillow front, or a piece of quilt batting and basting spray.
- 17" - 18" zipper if making a zipper pillow
Orange Peel Instructions:
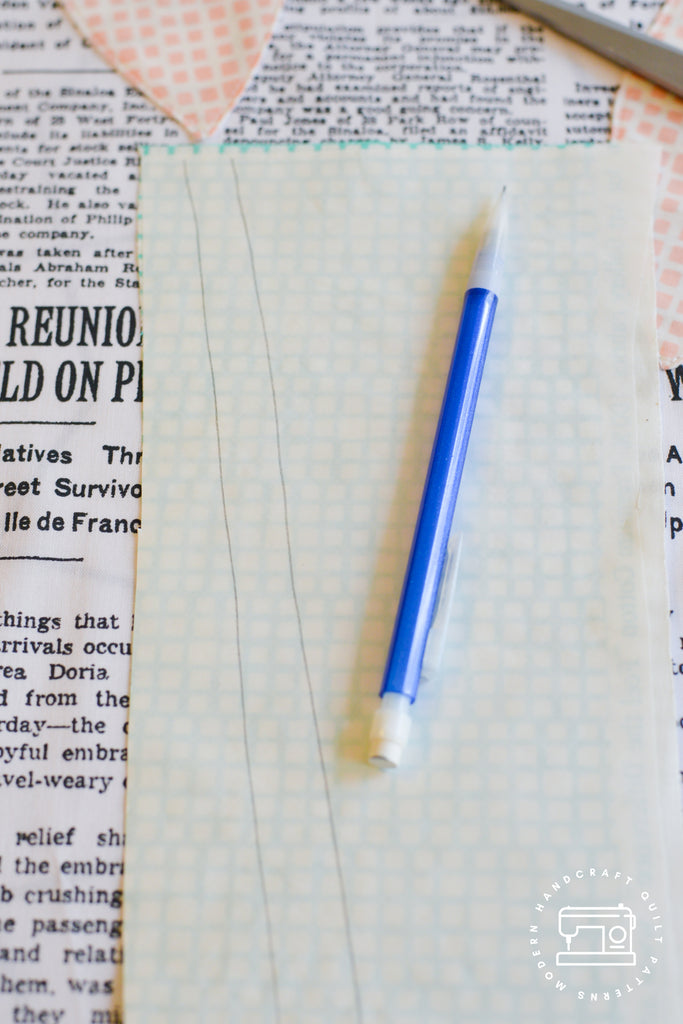
- Begin by printing out your orange peel template. Cut out orange peel shape and use as a template to trace orange peel shapes onto your Heat n Bond lightweight fusible interfacing.
- For the Orange Blossom pillow you will need 8, Tulip pillow you will need 7. Cut your traced shapes out of the interfacing.

- Place your interfacing orange peel shapes "fusible or rough side" down on the right side of your fabric - pin in place to hold.

- At your sewing machine you will sew around the entire perimeter of your interfacing petal. Start about an inch away from the point (starting at the point might make the interfacing bunch up under the needle). Try to stay as close to the edge as you can - if this is hard to do, you can cut a little closer to your stitches in the next step and have the same effect.

- You can now remove all of your straight pins, and cut closely to your stitches leaving a very small amount of seam allowance.

- Very carefully pull your interfacing away from the fabric and make an inch sized cut, like shown. Make sure to not cut too closely to the sides.

- Very carefully turn your orange peel shape right side out through the hole you cut, it get's easier with practice. Tearing the opening a bit is ok, no one will see it once we iron it to our pillow front.
- Use a knitting needle or other pointy tool to carefully poke out the corners (your interfacing is very delicate so be careful at the points - it can tear easily).

- Flip over your orange peel piece and smooth (do not use an iron to smooth out) - you have your first piece! It should now look like the image above - fabric right side out and the fusible rough part on the back.

- They will look a bit wrinkled - avoid the temptation to iron these, remember the fusible side is there.
Design your layout:

- Now for the fun part - designing your layout and playing with the petal shapes! Depending on what pillow you are creating, you can now lay out your design and see how you would like to arrange your pieces.

- Be sure to play around with the spacing on your pillow front before you iron anything in place.
Orange Blossom Layout:

- To create the Orange Blossom pillow you will need 6 petals for the flower and 2 petals for the leaves.
- Lay your design directly onto your 19" x 19" square piece of fabric for your pillow front. With your iron on medium heat and steam - iron down your finished flower design.
- Now is the time to add some fusible fleece or a piece of quilt batting to the back of your pillow front. This will add a nice thickness to your pillow and will be secured with the stitches on the next step.
- Once you have your pieces pressed and secured to your pillow front you can go to your machine and stitch around each petal with a straight stitch. Make sure to go slowly and stitch just inside the edge of the petal. Leave your needle down at the tips and pivot while sewing.

Tulip Layout:

- To create the Tulip pillow you will need 6 petals for the flower, 1 petal for the leaf and some fabric fused with Heat n Bond iron on adhesive.
- First lay out your petals where you would like them.

- Remove the top two petals and iron your first petals into place. At your sewing machine stitch around the edge of these petals using a straight line stitch close to the edge.
- Iron your Heat n Bond iron on adhesive to the back of your stem fabric following the directions (Use the same fabric as your leaf). Draw a stem on the paper backing of the Heat n Bond. Draw the stem bending in the opposite direction that you would like for it to go - or a mirror image.

- Cut out your stems - peel off the paper backing and iron to your pillow front. Make sure that the top of the stem is just under the point of the middle tulip petal that we already secured (we will be overlapping the other petals to cover up the top of the stem in the next step). Use a small zig-zag stitch on each side of the stems.

- Place your second set of petals, iron and stitch around the edges.

- Add your final set of tulip petals - iron in place and stitch around the edges.

- The last piece you will add is your leaf, place next to your stem, press and stitch in place.

- You now have completed your pillow fronts! Finish in the manner that you enjoy most - envelope backing or zipper.
Finished pillows:


Thanks for stopping by the blog today. I am still in the process on transferring over all of my older blog posts and tutorials and I hope you enjoyed this "blast from the past"!
Be sure to sign up for the Modern Handcraft newsletter below to get free tutorials, pattern discounts and blog updates on Saturdays!
Happy Sewing friends,
Nicole

Comments
Thank you for sharing this technique!
Me encantó te seguiré en tu blog. Explicas de maravilla.
Thank you for sharing this tutorial! I love it and the method feels definitely less intimidating 😍
Love this, so fun. Can you tell me what line of material you used for the background and orange flower?
Thank you
I have been meaning to try an orange peel quilt/project for ages, thanks for the tip and prompt!
a 5-* tutorial!! thank you for sharing!
Thanks for a fun and quick pillow project! Endless possibilities.