Hi friends,
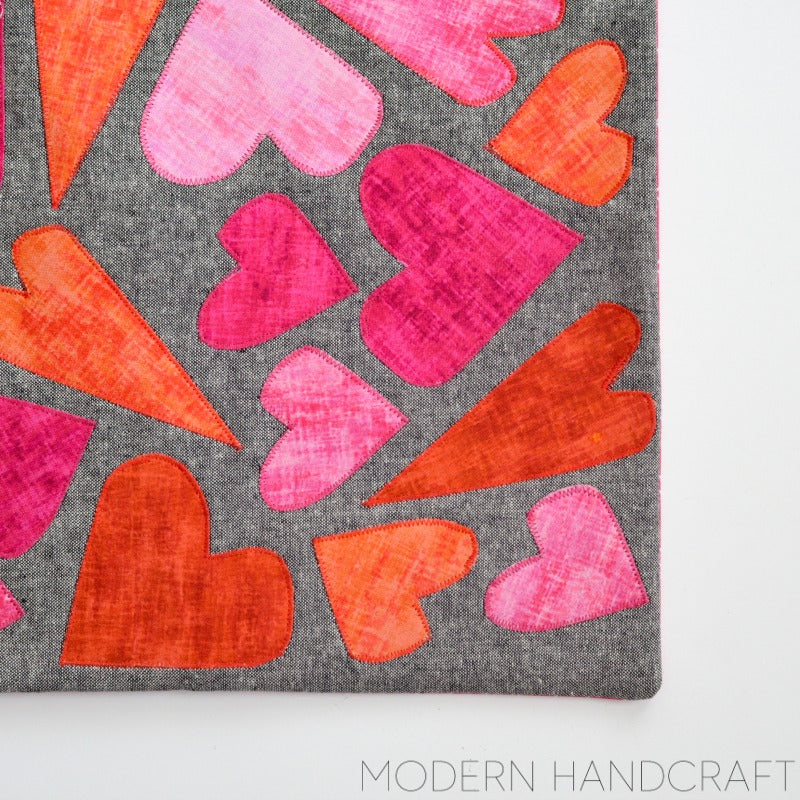
As soon as I see the Valentine's candy hit the stores I want to start putting out a few handmade heart items around the house. I gave one of my older tutorials a bit of a facelift and included a printable template to help you along the way.
The Hearts Applique Pillow Tutorial is a fun project using a simple zig zag or applique stitch of your choice, a bit of heat n bond fusible material and some beautiful red and pink fabrics for Valentines day. Choose some fun prints or other colors to have this out all year! 
Materials needed:
This page contains affiliate links. If you choose to purchase after clicking a link, I may receive a commission at no extra cost to you.
- 20" x 20" square of fabric for your pillow front - Black Essex linen
- (2) 14" x 20" rectangles of fabric for pillow envelope backing
- (2) 2.5" x 20" strips of material for envelope edge binding
- scraps of fabric in various shades of pink + red
- Hearts template download (these are different than the original hearts used on the project)
- 20" square piece of fusible fleece
- Heat n Bond fusible material
- Coordinating thread
- Sewing machine with a zig zag or applique stitch option, sewing notions
Instructions:

Following the directions of the heat n bond, fuse your fabrics for your heart shapes on the wrong side of the fabric. Use the printable template as a guide to cut out hearts, free cut into various size hearts or use a cutting machine - cricut / silhouette.

Starting from one corner working across the front of the pillow fabric - iron your hearts onto the fabric in any order you like. I used a random pattern of small, medium and large hearts with a decent amount of spacing in between.

Fuse your fusible fleece to the backside of your pillow front - or spray baste a piece of quilt batting to secure. Using a zig zag stitch or applique stitch, and carefully sew around the perimeter of each heart.


Take your 2.5" x 20" strips of fabric set aside for the edges of your envelope backing and sew along the sides like you would a normal quilt binding.
Fold each fabric in half wrong sides together and press.
Place the raw edges along the raw edge of your pillow backing and sew using a 1/4 seam allowance.
Fold over the binding strip to the other side and press, pin in place and stitch down - this will secure and create a nice edge for your envelope opening. You can also fold over the raw edge of the envelope backing 1/2" press, fold over again 1/2" and stitch creating a nice clean edge without the binding edging.

To sew all three sections of the pillow together, place your pillow front right side up on your work surface, place one envelope backing facing down with the finished side towards the middle, then place the other envelope side face down with the finished side towards the middle. The backing should be overlapping now. Pin in place around the perimeter of the pillow and take to your sewing machine.
Stitch around the perimeter of the pillow, remove pins and then stitch around the perimeter of the pillow once more using a zigzag stitch to secure all loose threads and make a cleaner finish.

Turn right side out and poke out your corners, give the pillow a nice press.

This pillow combines some of my favorite Sew Timeless fabrics with Robert Kaufman yarn dyed Black Essex Linen, backed in a fun zig-zag fabric from Dear Stella. The Sizzix heart die I used on the original project is now discontinued - Hearts #4 by Stephanie Ackerman from Homegrown & Handmade.

The little hearts trim makes the envelope backing turn into a little Valentine surprise.

Do you decorate for Valentine's Day in your home? I would love to hear what you make to decorate your space and link up any of your own finished projects or Valentine tutorials for all of us to see!
Thanks for stopping by today friends!
Happy sewing
-Nicole


Comments
I love everything about this pillow, especially the black Essex linen background!
I think I may use the technique on Christmas stockings.
Very nice pillow. I think I will make a few for my grandchildren