


Hi friends,
Today I am sharing a fun project to make for your kids teachers to start out the new school year. This Quilted File folder is the perfect size for keeping files and a notebook so your kids can keep their homework organized by class or teachers can keep their paperwork secure for take home grading.


Materials needed:
-
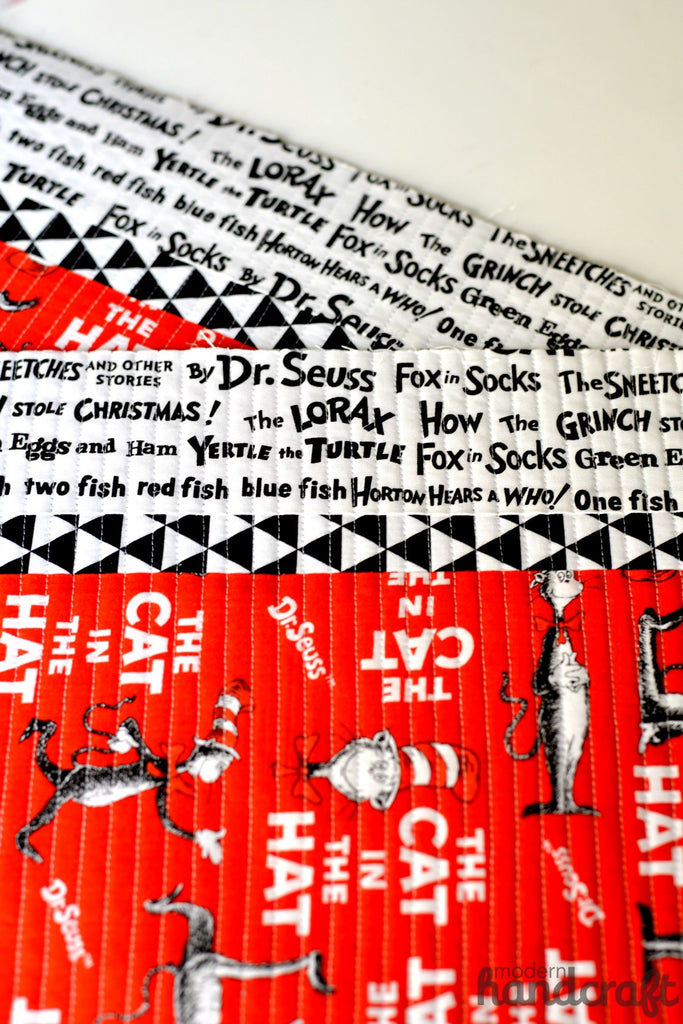
Three different fabrics - See Step 1 for fabric measurements. Get creative with this to match your teacher's style or your kid's favorite novelty character of the moment.
-
Lining fabric - 2 pieces measuring 12" x 14.5"
-
Fusible Fleece - 2 pieces measuring 12" x 14.5"
-
Zipper measuring at least 16" long - this will be cut down to 13"
-
Sewing machine & notions (pins or wonder clips, matching thread, scissors or rotary cutter and mat, acrylic ruler)
-
All seam allowances will be 1/4" unless noted
Instructions:

Cutting your fabrics, cut two for each measurement:
- Top fabric - 3" x 14.5"
- Middle fabric - 1.5" x 14.5"
- Bottom fabric - 9" x 14.5"

Sew your three fabrics together in the order above, ironing your seams open or to the side. Do this twice, once for each side of the pouch.

Your two fabric pieces should now roughly measure 12" x 14". At your iron you will now fuse your fabric pieces to your two fusible fleece pieces. Iron with the back of the fabric piece touching the fusible side of the fleece.

Using your regular sewing foot or a walking foot quilt your two fabric/fleece pieces. I love doing a straight line stitch or a grid or free motion quilting pattern would look great as well.
Once you are finished with both sides, trim any extra threads that are loose.

- First we will prepare your zipper to fit the pouch. Take your rotary cutter or some "non fabric" scissors and cut your zipper so that the zipper part measures 13.5" long.
- Cut two pieces of fabric that measure 2" x 4.5" - then iron these in half.
- At your machine lay the fabric ends - folded side towards your zipper and stitch along the edge. Only cover 1/4" of the zipper with the fabric piece, keeping the exposed zipper measuring 13". File folders are around 12" long and we want to make sure that they will fit inside the zipper opening.

Take one side of your pouch and lay it facing up. Lay your zipper face down centering at the top like shown.

Now lay a lining fabric piece facing down on top of that like shown, pin or clip in place.
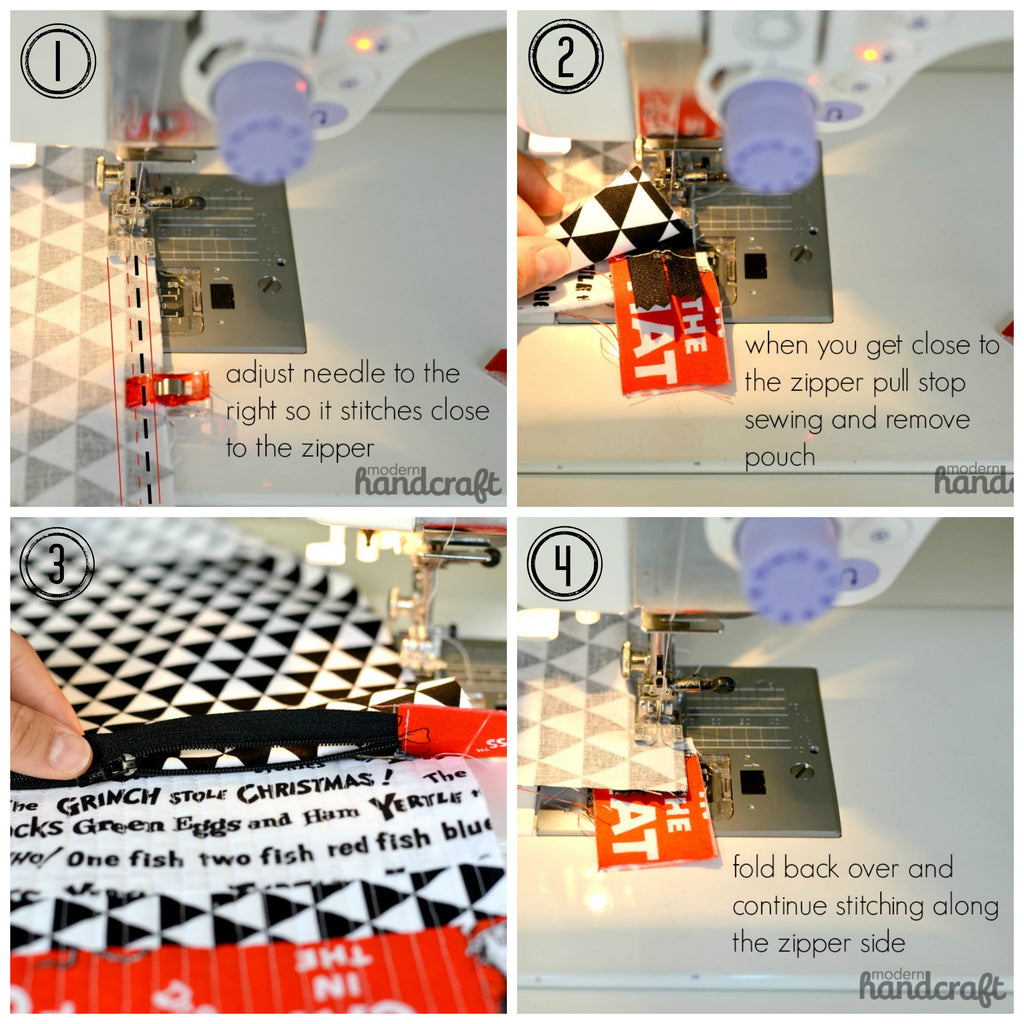
- Stitch alongside your zipper with a zipper foot, or if you only have a regular sewing foot follow these instructions. ( I never use a zipper foot, and find this way to be just as easy)
- With your foot lined up along the edge of your fabric, move your needle over just a bit to the right. Stitch along side the zipper teeth by keeping the foot aligned with the edge of your fabric.
- When you come to the zipper pull, cut your thread and remove from machine.
- Un-zip zipper a few inches.
- Fold back and continue sewing.

To keep your fabric from getting caught in the zipper when in use, it is very helpful to add a top stitch just below the edge of the fabric where it meets the zipper.

Lay your completed side face up and lay the other quilted side face down on top of that. Flip over.

Now with your fabric flipped over with the back of the zipper and lining facing up, lay your second lining piece face down on top of that. Be sure to line up all layers at the top and pin or clip in place. Follow the directions again for sewing your zipper in place.

Fold open and add a top stitch to your second side.

Time to stitch the pouch side together. Before doing this make sure that your zipper has been unzipped more than halfway. Take your two outside quilted pieces facing each other and pin/clip. Take your two lining pieces facing each other and pin/clip.

Sew around the perimeter of the pouch now leaving an opening at least 6" wide at the bottom of the lining piece.

Flip your pouch right side out from the opening you left in the lining, poke out corners and zipper ends and pin/clip opening closed. Stitch closed with your machine or with a slip stitch with needle and thread.
Tuck lining in now and press your new quilted file folder and you are finished!

Thanks for stopping by today friends and I hope that getting ready for school this year is a breeze!
Please share your creations with us on Instagram by tagging me @modernhandcraft or linking up in the comments section below.
Happy Sewing!
Nicole