

Hi friends,
I recently made a sweet and simple checkerboard baby quilt for a quick baby shower present. This is not only a great intro to quilting project - it's also very on trend with the checkerboard pattern.

Several of you asked about how I made this and I took a few notes to share today in a mini tutorial, along with finished images of the quilt before and after washing.
I always like to wash quilts before I gift them - especially if it's a baby quilt. That way they can instantly use it for some tummy time or for decorating a nursery.
Checkerboard Baby Quilt
Finished size: 40" x 40" square

Materials needed:
- (81) 5" squares of fabric - (41) 5" Background squares / (40) 5" Random fabric squares. For this quilt I chose a selection of navy blue prints from my fabric stash.
- 1 1/4 yards of fabric for backing
- 3/8 yards of fabric for binding - cut (5) 2.5" x WOF strips
- Crib sized batting
- basic sewing tools: acrylic ruler, rotary blade, cutting mat, sewing machine, scissors, pins.
Basic Instructions:

Cut checkerboard fabrics into 5" squares - you will need (41) background squares and (40) 5" assorted fabric squares to create checkerboard pattern.

Once you have all of your 5" squares cut - lay out into a checkerboard pattern on your design wall or tabletop. You will have a layout of 9 squares by 9 squares. Stand back and look at your layout and move any squares necessary to make the flow of colors or patterns look nice.
Group your squares into rows and take each row to your sewing space at a time, and sew together using a 1/4" seam allowance.

As you complete your rows - press your seams towards either the accent colors if they are darker or towards your background squares if they are darker. This step will allow you to nest your seams in the next step when we join our rows together to finish the quilt top.

Here are my completed rows pressed and on my design wall ready for the next step.

Now I am ready to join all of my rows. Since I pressed all of my seam allowances towards my darker accent squares, the rows nest together nicely for sewing together.

Now we have a finished quilt top ready to quilt!


Quilting Info

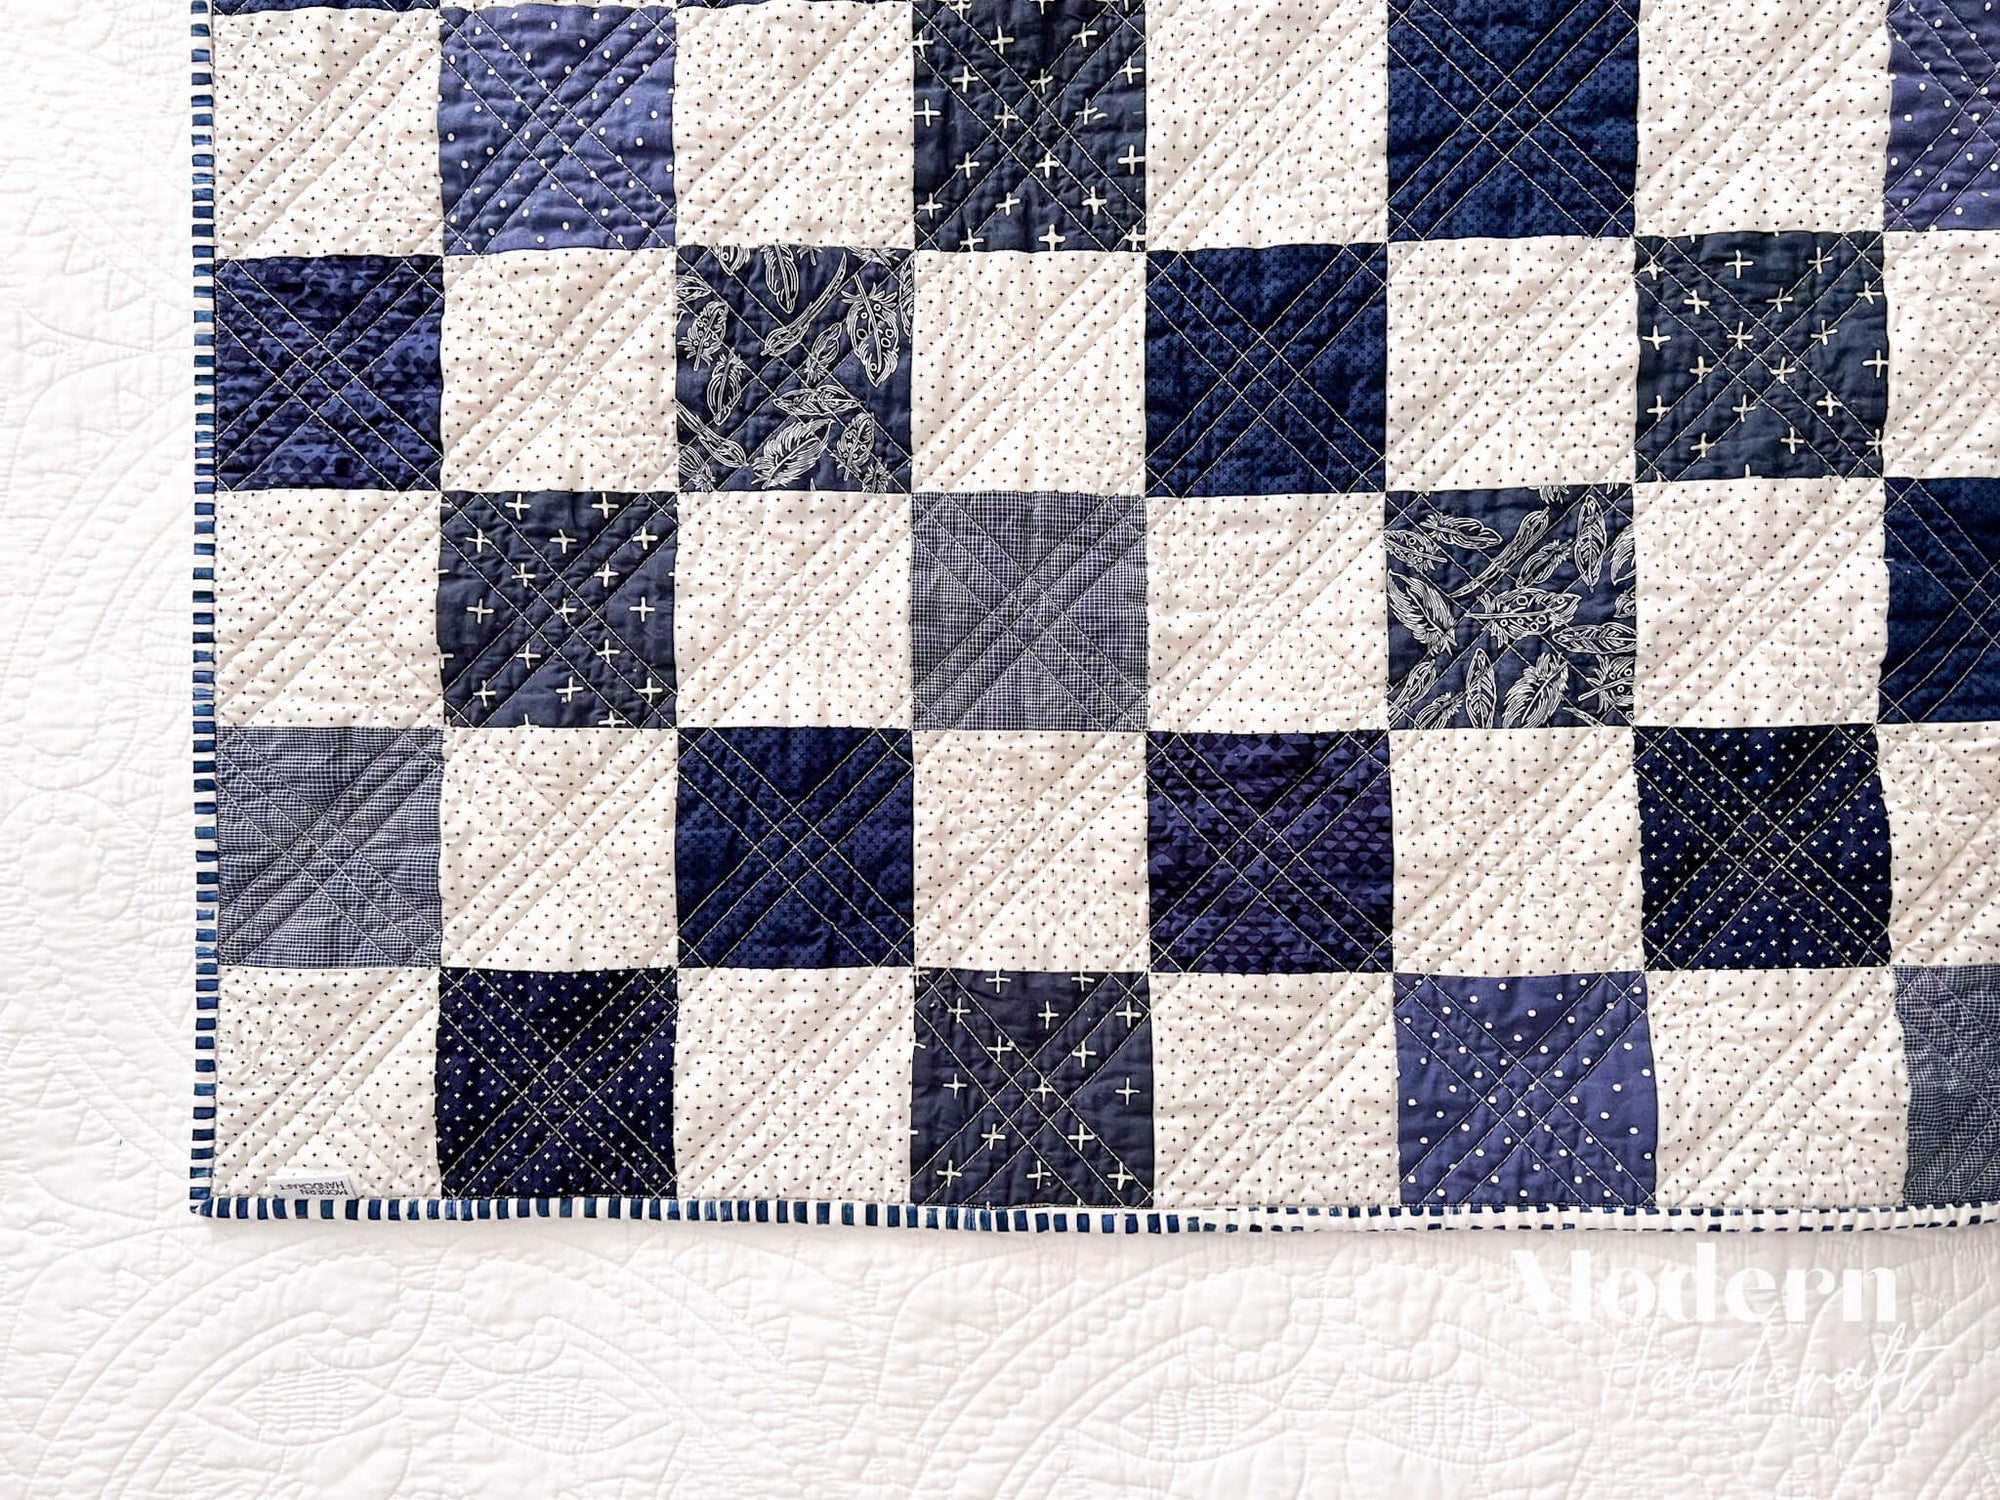
I knew that I wanted to keep it simple and do a straight line stitch from point to point on my squares across the quilt - or an X stitch on each square. I decided that once this was done I wanted a bit more quilting so using my walking foot as a guide - I added an additional straight stitch along each side of the lines. The distance between the lines is .5" and the finished result is a really fun triple X pattern.


I love how the corners where the blocks meet and the middle of each square has its own little square checkerboard pattern.


After the Wash Quilt Images

I definitely wanted to show off how beautifully it washed and dried up - for the ultimate crinkle effect! Ready for a happy baby to spend some time on the floor playing.


Thanks for stopping by the blog today friends!
Happy sewing -
Nicole


Comments
thanks for sharing this beauty♥ i especially love the simplicity of the straight line quilting! So many color ideas floating in my head. thanks again for sharing this idea.
Nicole, I love it! I may just need to copy this for an upcoming new one arriving soon near me. 🧵💙🤍
Thanks! It always takes so much energy to figure these out and now you’ve done it for us all! And because my favorite color is blue I especially 💙 this version!